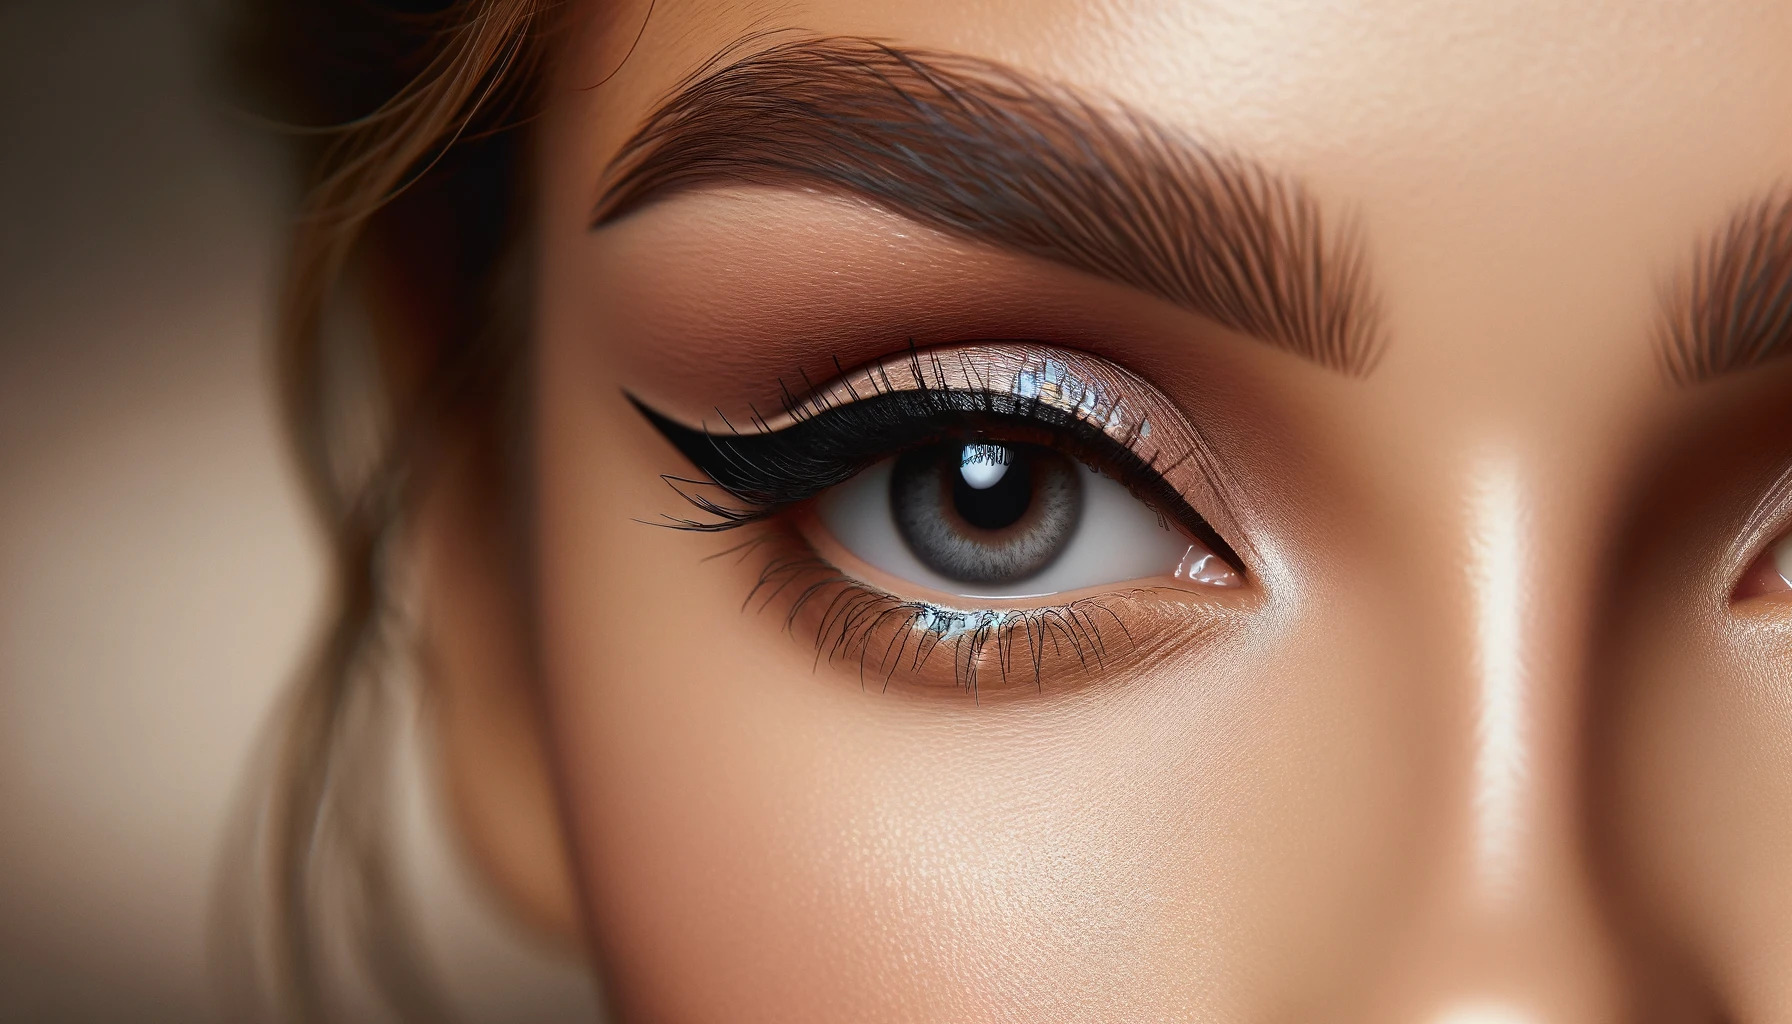
Eyeliner is a powerful tool in makeup that can enhance your eye shape and create various looks. However, different eye shapes require different techniques to achieve the best results. Here’s a guide to the top 10 eyeliner techniques tailored for various eye shapes.
1. Almond Eyes
Technique: Classic Wing
- Apply Primer:
- Start with an eye primer to ensure long-lasting wear.
- Draw the Wing:
- Extend the eyeliner from the outer corner of your eye upwards, creating a smooth wing that follows the natural curve of your eye.
- Connect the Wing:
- Draw a line along your upper lash line, connecting it smoothly to the wing.
Tip: This classic wing enhances the natural shape of almond eyes, adding definition without altering the eye shape.
2. Round Eyes
Technique: Tightline and Wing
- Tightline:
- Apply eyeliner to the waterline of your upper lid to make your eyes appear more defined and elongated.
- Create a Wing:
- Draw a wing extending from the outer corner of your eye, slightly upwards to elongate the eye shape.
- Finish with Liner:
- Line your upper lash line and blend it with the wing for a seamless look.
Tip: Tightlining and a winged liner will make round eyes look more elongated and defined.
3. Hooded Eyes
Technique: Lifted Wing
- Use Primer:
- Apply primer to your eyelids to prevent smudging.
- Create a Wing Above the Crease:
- Draw your wing slightly above the crease line to ensure it remains visible when your eyes are open.
- Connect to Lash Line:
- Line the upper lash line and blend it with the wing, focusing on making the wing prominent.
Tip: A lifted wing helps open up hooded eyes and makes the eyeliner more visible.
4. Monolid Eyes
Technique: Extended Cat Eye
To achieve a flawless cat eye, follow these steps carefully. For more tips on how to perfect cat eye techniques, practice steady hand movements and use a liquid liner for precision.
- Apply Primer:
- Start with an eye primer for a smooth base.
- Draw a Bold Line:
- Line your upper lash line with a bold, thick line extending slightly beyond the outer corner.
- Create a Cat Eye:
- Draw a wing that extends further out to create a dramatic cat eye effect.
Tip: A bold, extended cat eye accentuates monolid eyes and adds depth.
5. Downturned Eyes
Technique: Upswept Liner
- Use Primer:
- Apply an eye primer to help the liner stay in place.
- Draw an Upswept Line:
- Line your upper lash line, extending the eyeliner slightly upwards at the outer corner to counteract the downward tilt.
- Add a Wing:
- Create a wing that follows the upswept line for a lifted effect.
Tip: Upswept liner can make downturned eyes appear more lifted and bright.
6. Deep-Set Eyes
Technique: Brightening Liner
- Apply Primer:
- Use an eye primer to create a smooth canvas.
- Line the Waterline:
- Apply a white or nude eyeliner to the waterline to brighten and open up deep-set eyes.
- Define the Upper Lash Line:
- Line your upper lash line with a thin, defined line and extend it slightly outward.
Tip: Brightening the waterline helps to make deep-set eyes appear more open and less shadowed.
7. Close-Set Eyes
Technique: Outer Wing
- Apply Primer:
- Start with an eye primer for better adhesion.
- Focus on the Outer Corners:
- Line the outer half of your eyes with a winged eyeliner that extends outward and upward.
- Avoid Lining the Inner Corners:
- Skip lining the inner corners to create the illusion of wider-set eyes.
Tip: Concentrating the liner on the outer corners helps to create the appearance of wider-set eyes.
8. Wide-Set Eyes
Technique: Inner Corner Liner
- Use Primer:
- Apply primer to ensure a smooth application.
- Line the Inner Corners:
- Apply eyeliner to the inner corners of your eyes to bring them closer together.
- Create a Smooth Line:
- Line your entire upper lash line and connect it to the inner corner for a cohesive look.
Tip: Lining the inner corners can help to visually bring wide-set eyes closer together.
9. Small Eyes
Technique: Thin Liner with a Flick
- Apply Primer:
- Begin with an eye primer to help the liner stay in place.
- Draw a Thin Line:
- Line your upper lash line with a thin, precise line to avoid overwhelming the eyes.
- Add a Subtle Flick:
- Create a small, subtle flick at the outer corner to add a touch of definition without making the eyes appear smaller.
Tip: A thin liner with a slight flick adds definition to small eyes without overpowering them. To further enhance the appearance of small eyes, consider using false eyelashes. They can add volume and length, making the eyes appear larger and more defined.
10. Large Eyes
Technique: Bold Liner
- Use Primer:
- Apply an eye primer to ensure long-lasting liner.
- Draw a Bold Line:
- Line your upper lash line with a bold, thick line to enhance the size of your eyes.
- Add a Wing (Optional):
- Create a wing if desired, ensuring it complements the bold liner.
Tip: Bold eyeliner enhances the natural size of large eyes and adds drama to your look.
Conclusion
Each eye shape requires specific techniques to enhance its natural beauty. By applying these eyeliner techniques, you can tailor your makeup to suit your eye shape and achieve a polished, professional look. Experiment with different styles to find what best highlights your unique features.
