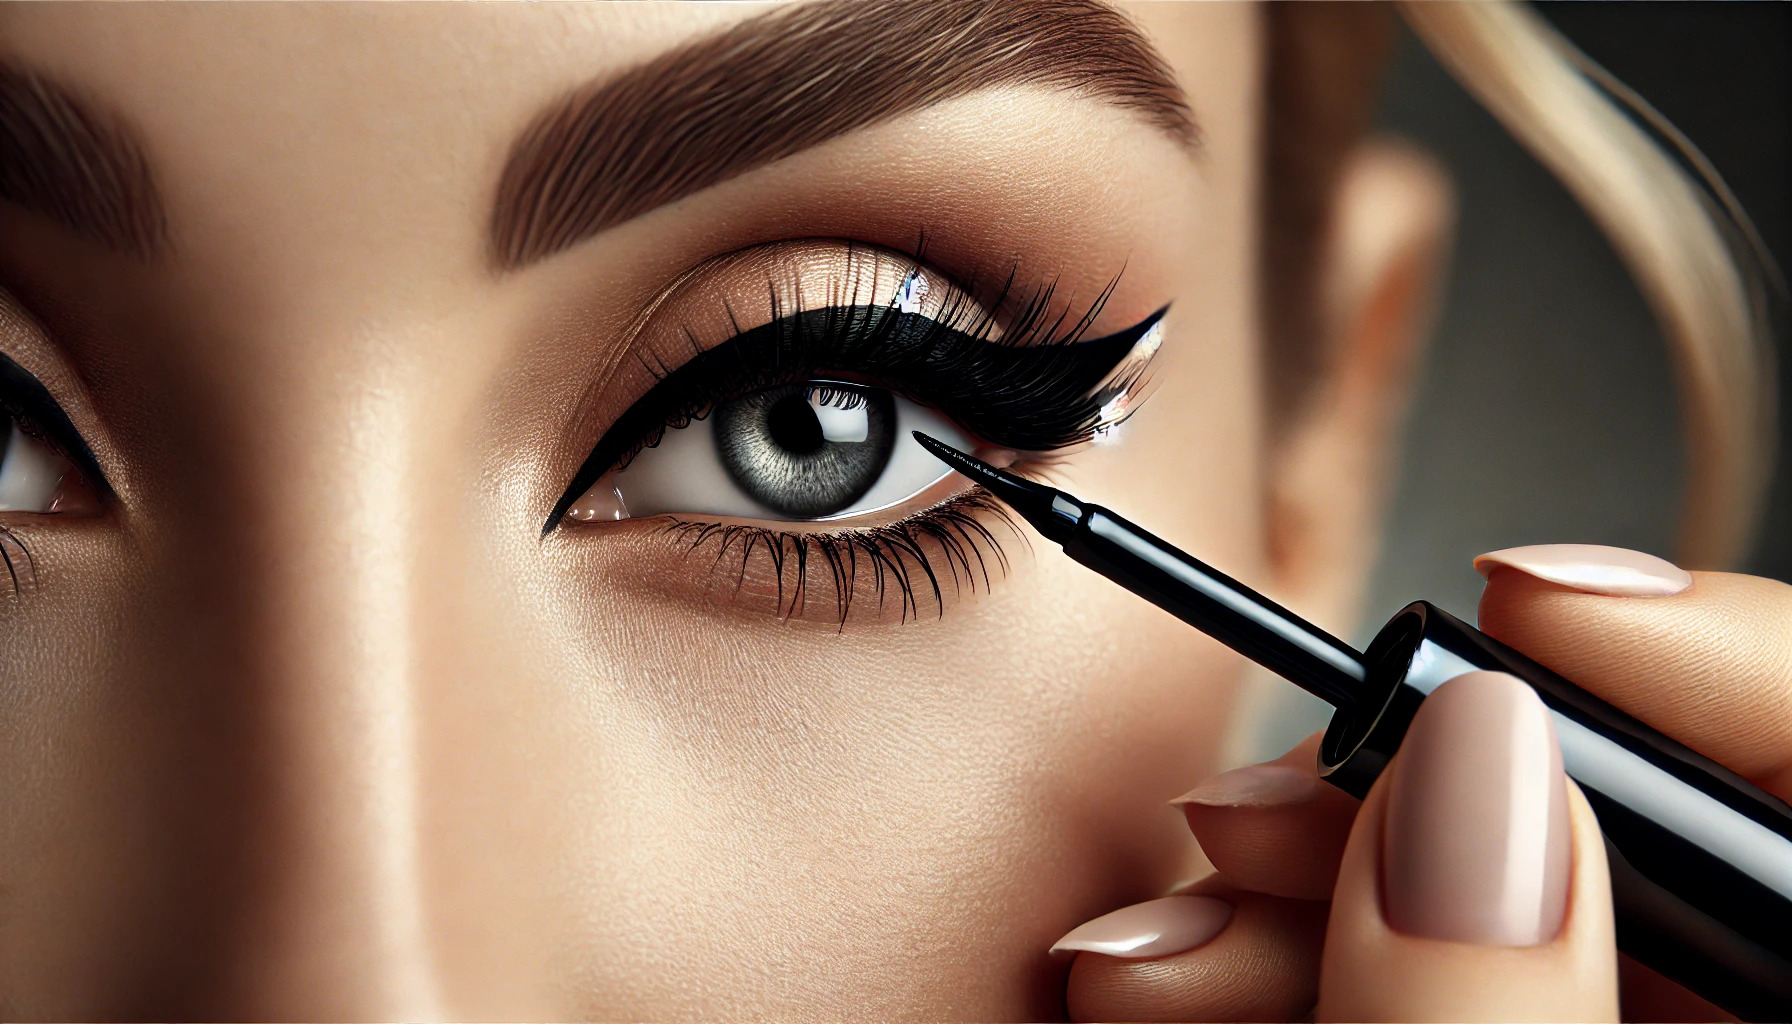
The cat eye makeup look is a timeless classic that adds a touch of glamour and sophistication to any makeup routine. Whether you’re preparing for a special occasion or just want to enhance your daily look, mastering the cat eye technique can elevate your style. This step-by-step guide will walk you through the process of achieving the perfect cat eye.
1. Gather Your Tools
Before you start, ensure you have the following tools ready:
- Eyeliner: Liquid or gel eyeliner is preferred for a sharp, defined line.
- Eye Shadow: For a base and to enhance the look.
- Eye Primer: To ensure your makeup stays in place.
- Brushes: For blending and applying eyeshadow.
- Cotton Swabs: For cleaning up mistakes.
- Micellar Water or Makeup Remover: For removing any errors.
2. Prep Your Eyes
2.1. Clean and Moisturize
- Cleanse Your Face:
- Start with a clean face to remove any excess oils and residues.
- Moisturize:
- Apply an eye cream or moisturizer to keep the skin around your eyes hydrated.
2.2. Apply Eye Primer
- Prime Your Lids:
- Apply a thin layer of eye primer to your eyelids to create a smooth base and help the eyeliner adhere better.
3. Create the Base
3.1. Apply Eye Shadow
- Choose a Neutral Shade:
- Select a neutral eyeshadow that matches your skin tone and apply it over your eyelid using a flat brush. This helps in creating a smooth canvas for the eyeliner.
- Add Depth:
- Apply a slightly darker shade in the crease of your eyelid and blend it out with a fluffy brush for added depth. For a more dramatic effect, you can incorporate smokey eye tips to blend the colors seamlessly.
4. Draw the Cat Eye
4.1. Outline the Shape
- Start with the Outer Corner:
- Begin by drawing a small line extending from the outer corner of your eye upwards towards the end of your eyebrow. This will be the guide for the wing of your cat eye.
- Create the Wing:
- From the end of this line, draw a diagonal line back towards the middle of your eyelid, connecting it to your upper lash line.
4.2. Define the Line
- Draw Along the Lash Line:
- Starting from the inner corner of your eye, draw a thin line along your upper lash line, gradually thickening it towards the outer corner using some of the best eyeliner techniques.
- Connect the Wing:
- Connect the wing with the line you drew along your lash line, filling in any gaps.
4.3. Perfect the Shape
- Refine the Wing:
- Use a small brush or cotton swab dipped in makeup remover to clean up any mistakes and sharpen the wing’s edge.
- Fill in Gaps:
- Ensure there are no gaps in your eyeliner and that the wing is smooth and even.
5. Enhance and Finish
5.1. Apply Mascara
- Curl Your Lashes:
- Use an eyelash curler to curl your lashes for added volume.
- Apply Mascara:
- Apply a coat of mascara to your upper lashes to complement the cat eye look.
5.2. Add Eyeliner to the Lower Lash Line (Optional)
- Define the Lower Lash Line:
- If desired, apply a thin line of eyeliner along your lower lash line, and blend it softly with a pencil or brush.
6. Set and Maintain
- Set with Powder:
- Use a translucent powder to set your eye makeup and prevent smudging.
- Touch Up:
- Carry a small eyeliner pen or gel for quick touch-ups throughout the day if needed.
Tips for Perfecting Your Cat Eye
- Practice Makes Perfect: The more you practice, the better you’ll get at creating the perfect cat eye.
- Adjust for Eye Shape: Tailor the wing shape to complement your unique eye shape.
- Experiment with Different Eyeliners: Liquid eyeliners provide a sharp look, while gel liners can offer a softer effect.
Conclusion
Mastering the cat eye technique can transform your makeup routine and enhance your overall look. By following this step-by-step guide, you can achieve a flawless cat eye that adds elegance and definition to your eyes. Practice regularly, and don’t be afraid to experiment with different styles to find what works best for you.
